ELIZABETH WEBER

Born and raised in Tennessee, Elizabeth showed great promise in both the arts and mathematics. She first specialized in engineering, earning an M.S. in civil engineering from the University of Tennessee at Knoxville and working in several engineering jobs. In 2012, she moved to Seattle, WA, and in 2015 decided to nurture her artistic side through woodworking. Her first creations included several pieces of furniture in the Arts & Crafts style, but she eventually turned to smaller objects and now specializes in bowls, spoons, and boxes. Her skills range from natural finish and simple forms to highly carved and painted forms that emulate natural motifs. She currently teaches woodturning at the Pratt Fine Arts Center in Seattle, WA, and serves as program director and WiT liaison for her woodturning club.
Demonstration Topics
Carving a Wave/Leaf Motif Onto Your Turned Pieces
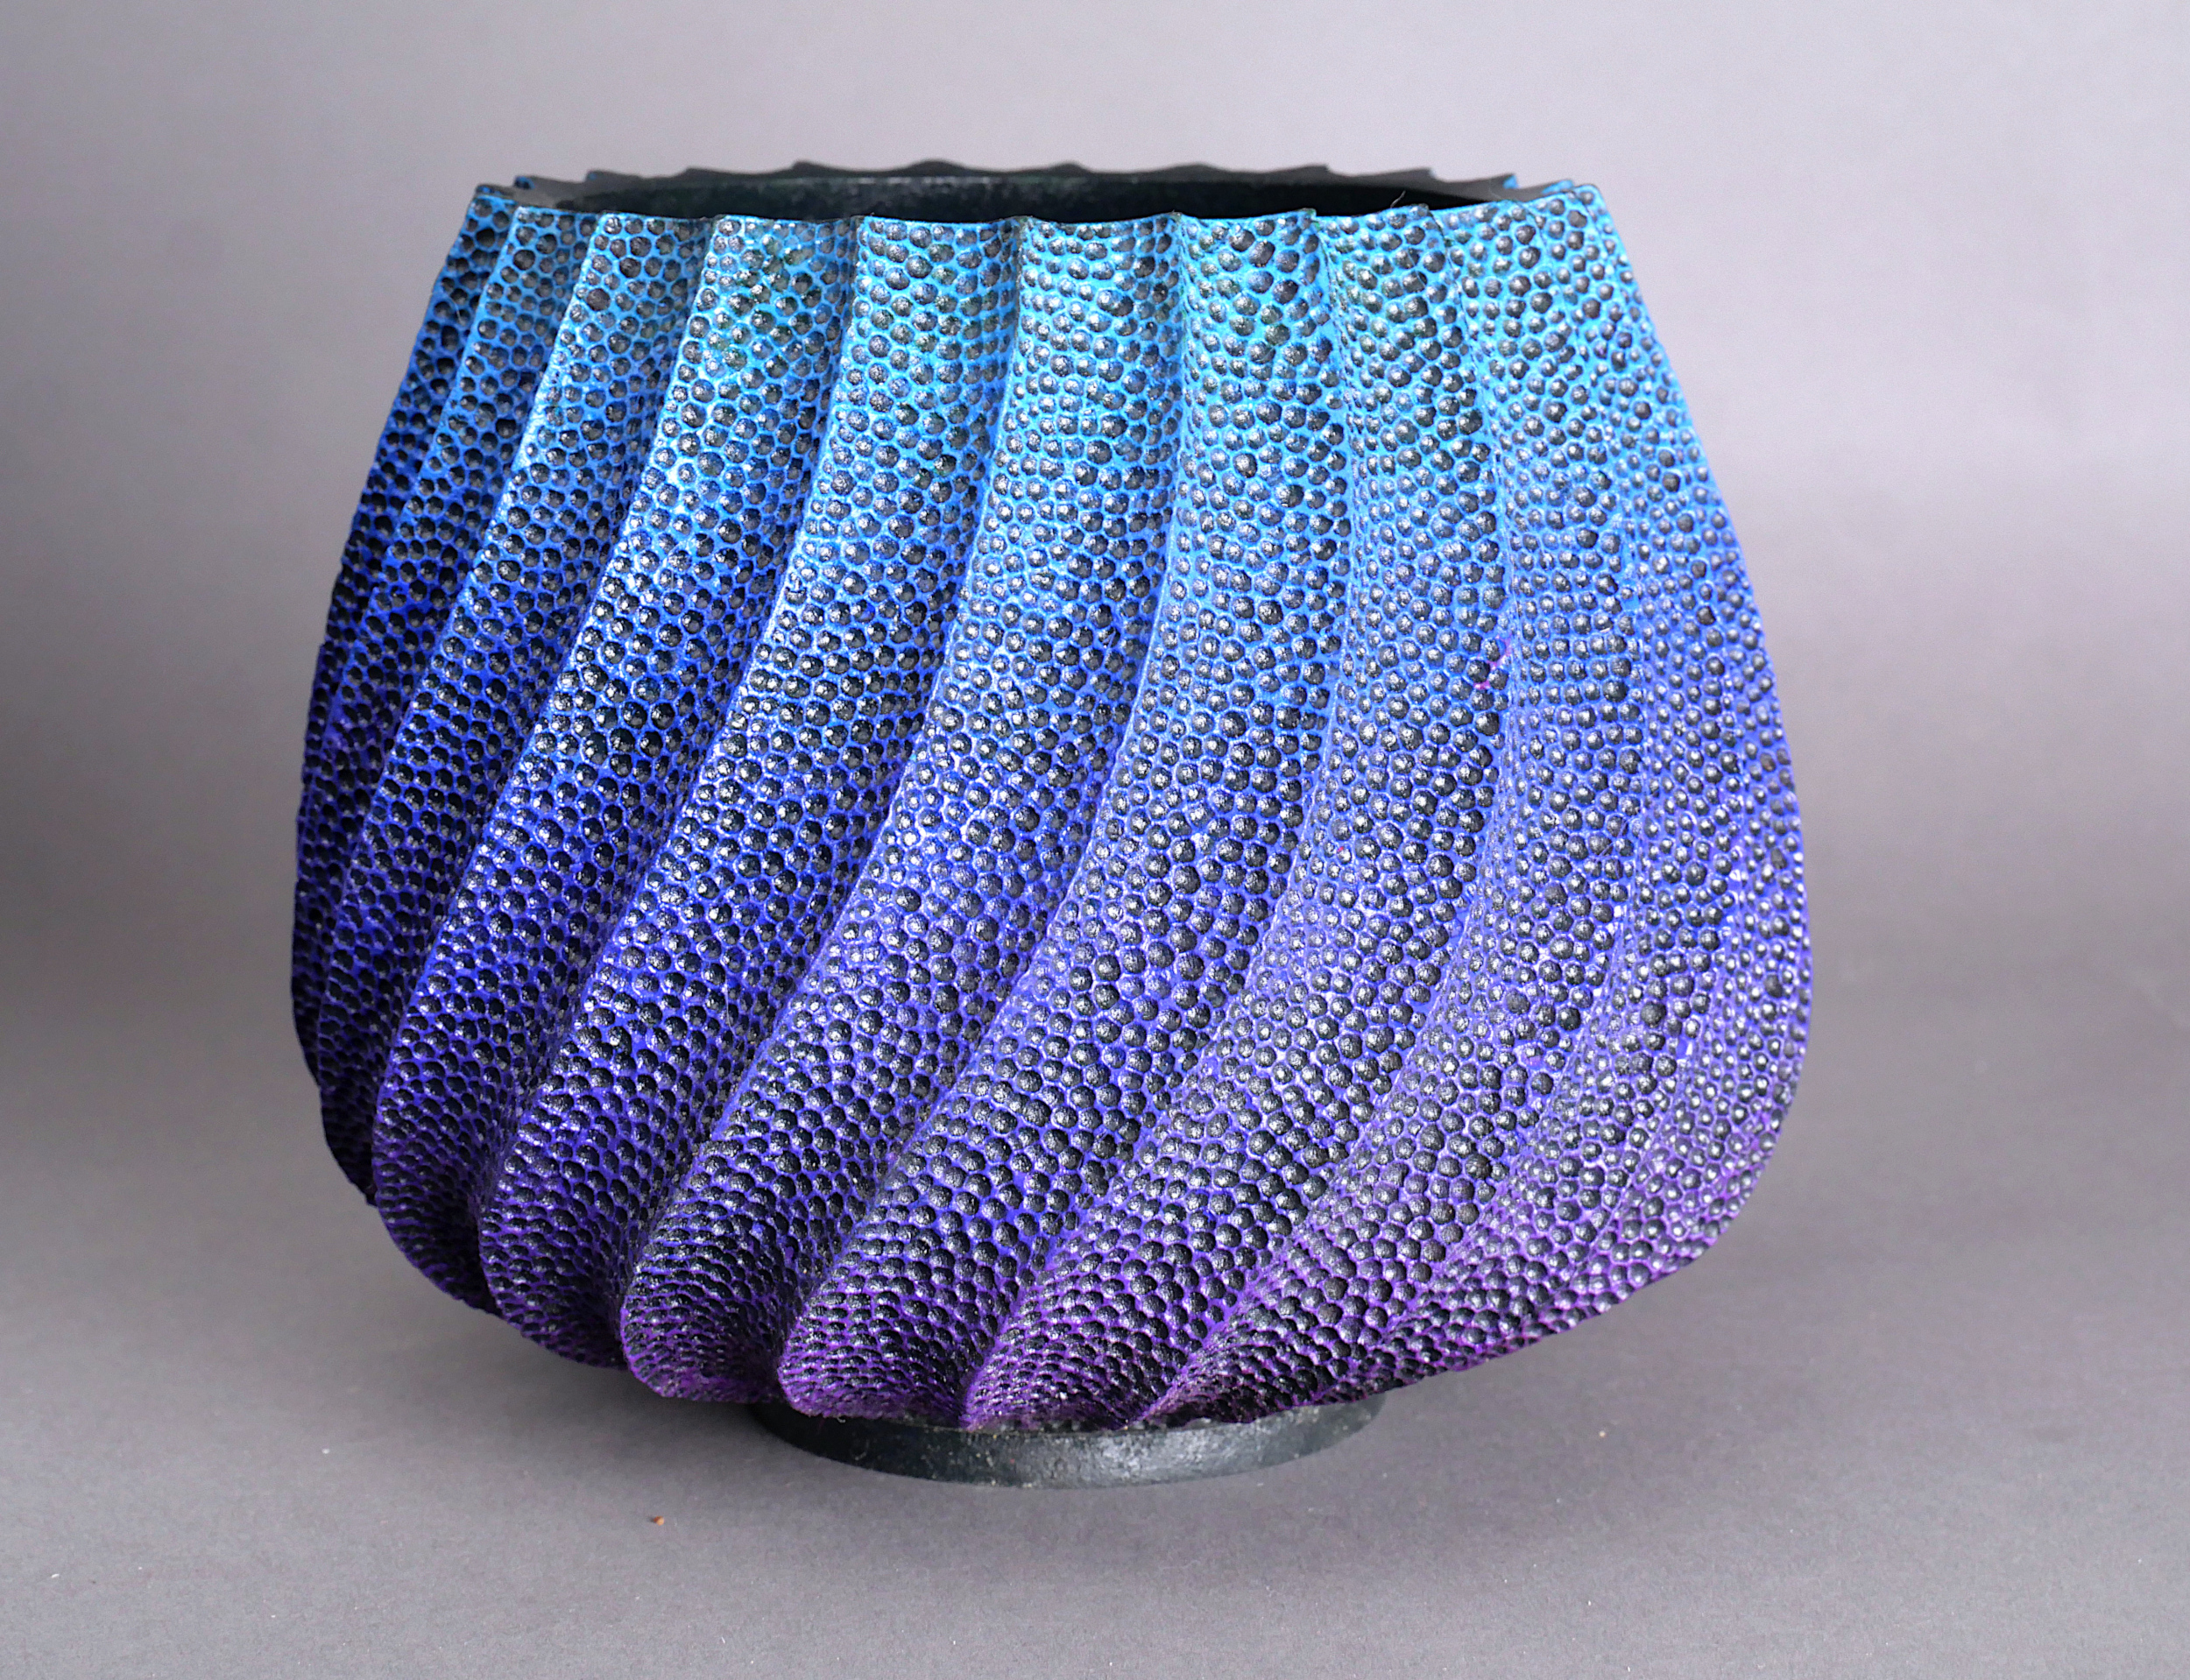
In this presentation, I will discuss the story behind this piece and how to look at nature abstractly for
inspiration. We will talk about the tools, tips, and tricks for creating the wave/leaf motifs on your
turned objects. This consists of layout, and ways to highlight the wood or add additional textures to the
piece through the use of rotary carvers, woodburners, and handtools. We’ll explore various ways to add
color to your finished work by using milk paint, and what finishes you can apply to your surface when
you are done.
Exploring Colors and Textures
This demonstration will cover adding textures and carving to any turned piece, where you can find
inspiration for your work, the importance of storyboards, different work holding methods, and how to
successfully use your tools to achieve a carved and textured surface. This will include ways to bring out
the natural beauty of the wood or add additional textures to the piece through the use of various power
tools and handtools. We’ll touch a little bit on different methods of adding color, such as milk paint and
acrylics, and different finishes depending on what you are hoping to achieve with your work.
Embellishing Boxes
This demonstration/class will cover how to start with green wood to get rough turned endgrain box
blanks, how long and how to dry them, and how to turn a finished box that is ready for embellishment
(thickness, lid fit, grain orientation). We’ll explore how to layout the work so that the transition
between carving top and bottom run together seamlessly, how to hold your workpiece, and tools that
can be used to carve on your piece. Lastly we’ll touch a little on coloring techniques with milk paint
and acrylics.